Dismantling the bus : Days 4 and 5
So after a day of rest, errands and discoveries (hello KingstonAsian Grocery, Wholefood store) on Thursday we got back into dismantling the bus on Friday. The plan for the day being to get the final aluminium panels of the roof and the passengers side wall paneling off.
With a bet to win I took to the wall paneling with the hammer and trusty red (our new favourite screwdriver). Using red as a chisel I was able to leverage behind the rusty bolts that wouldn’t budge and banging on the end with a hammer able to pry the paneling off. Less than an hour later I had the whole passenger side panels (plywood, metal railing, screws) off and felt well on the way to winning the bet.
Whilst I was working on the panels Deirdre had picked up her tool of choice: the angle grinder. Donning her new bus uniform (orange chainsaw helmet and earmuffs, googles, gloves) she’d attacked the rivets on the wall. Working her way around the driver side she soon had most of the rivets ground out.
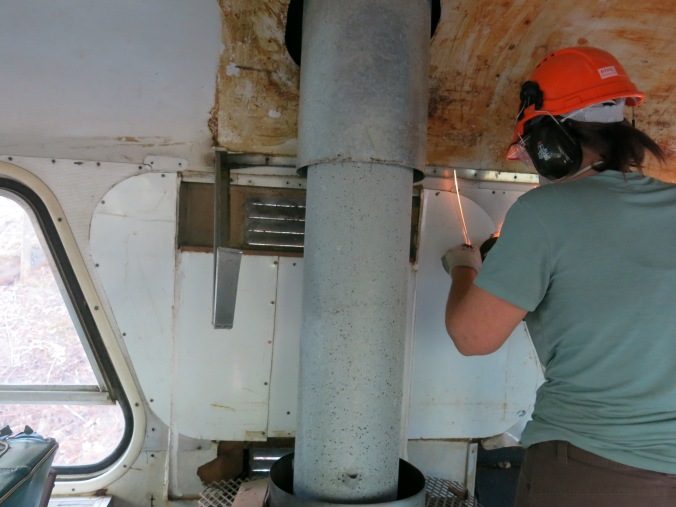
Deirdre grinding out the rivets behind the wood heater.
With the wall paneling off I set to helping Deirdre remove the paneling and over the next couple of hours we worked to remove the driver side panelling. By mid morning we had completed the driver side and Deirdre was willing to admit that the bet had been won.
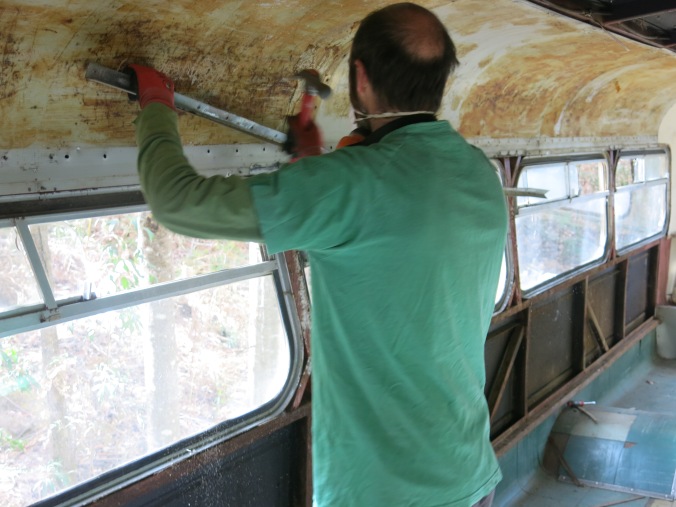
Trusty red and the hammer working their magic
We then took to removing the flue and chimney off the wood heater. A job we had been putting off for a few days as it seemed to difficult. With a couple of screws removed we were able to lift up the chimney and outer flue through the roof. The copper flue around the wood heater proved more difficult as it had rusted to the fire box and so we had to grind out some of the rivets in order to remove it in parts.
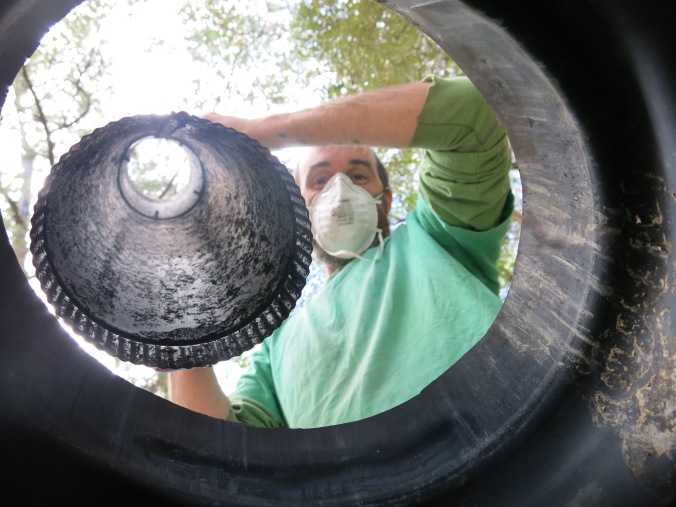
The flue and chimney being removed.
After lunch we took to working systematically on the passenger side. One of us holding the paneling as the other leveraged off the ground out rivets. Shortly after 3 we were taking the last wall panel down and able to relax.
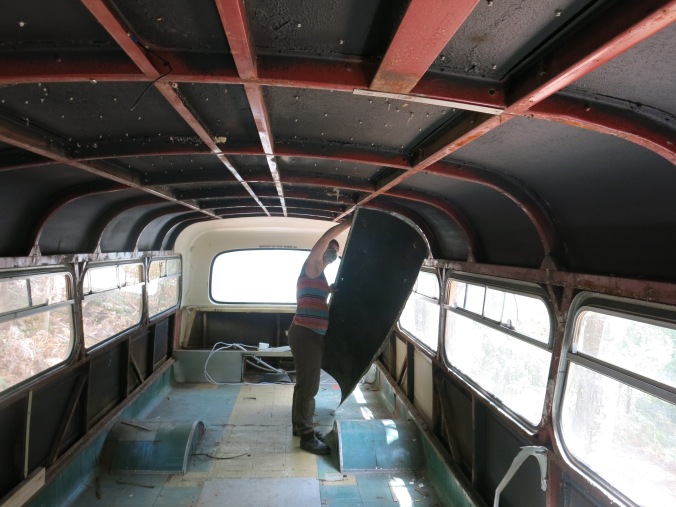
Bet won! Final back wall paneling coming down.
The bet won we packed up and headed down to Willie Smiths for a cider and pizza.

The bus end of day 4. Ahead of schedule and ready for the front.
Saturday we treated ourselves to a little bit of a sleep in and begun later than usual. The plan for the day: start attacking the front section of the bus and try and remove the back seat. Ever since we’d begun dreaming off converting the bus we’d also envisaged that the front bus would be the hardest part of the bus to dismantle. (In fact when devising the timetable for the build we’d allocated the best part of a week for dismantling the front of the bus.)
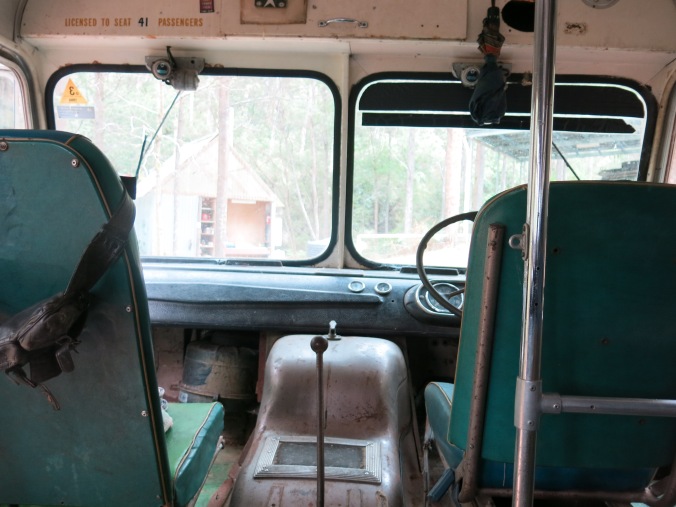
The front section as it originally looked before dismantling.
Whilst Deirdre took the grinder to the back seat I got working on the front section of the bus. Using a socket wrench and screwdriver I was able to remove a few of the nuts and bolts holding the seats in place but not enough for the seats to budge. Deirdre was going to have to grind some out. I did however discover that the front seat cushions were screwed on and could easily be removed once the seat belts had been cut away.
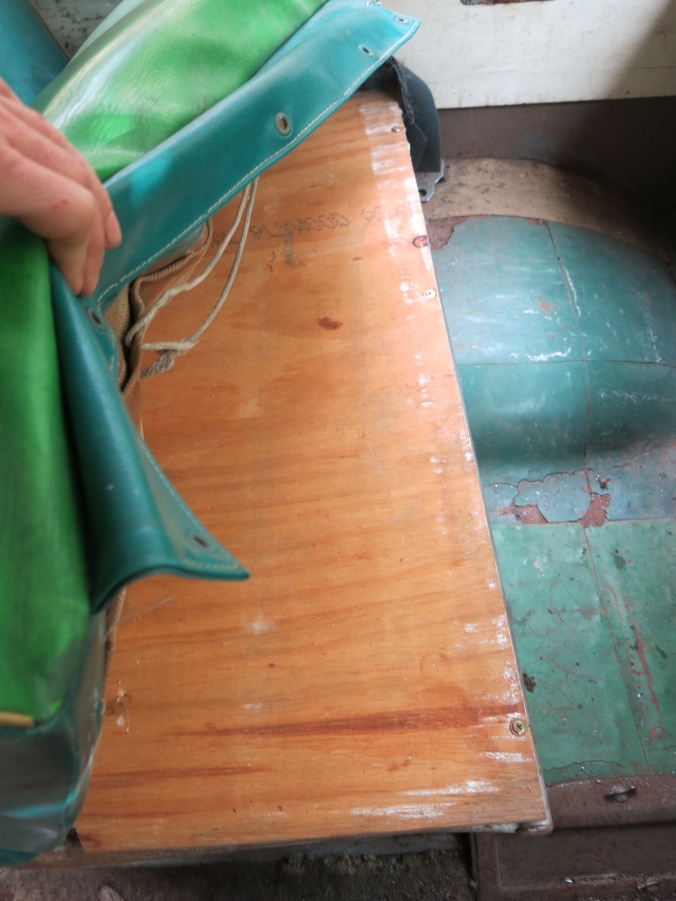
Lifting up the passenger side cushions to reveal some screws. Easy work now!
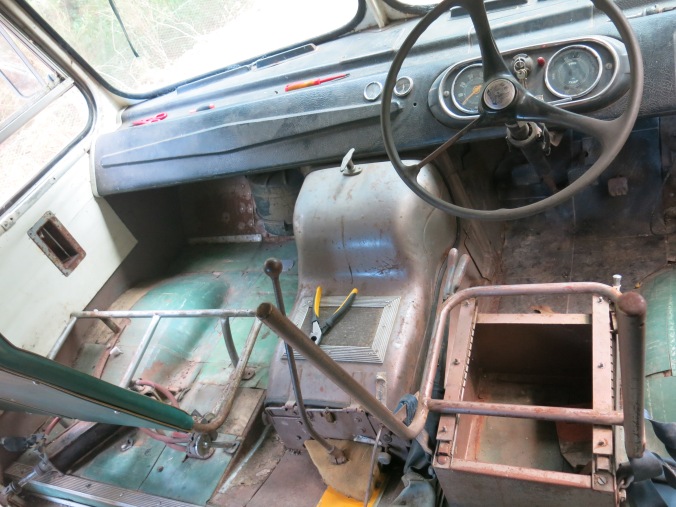
The front. Cushions and seats removed.
With the cushions removed there was now better access for the grinder and so Deirdre took to grinding out the bolts whilst I photographed.

Deirdre grinding the bolts for the passenger seats off.
After half an hour or so most of the bolts were ground down enough that we could bang them out with a hammer and remove the drivers box and the passenger seat.
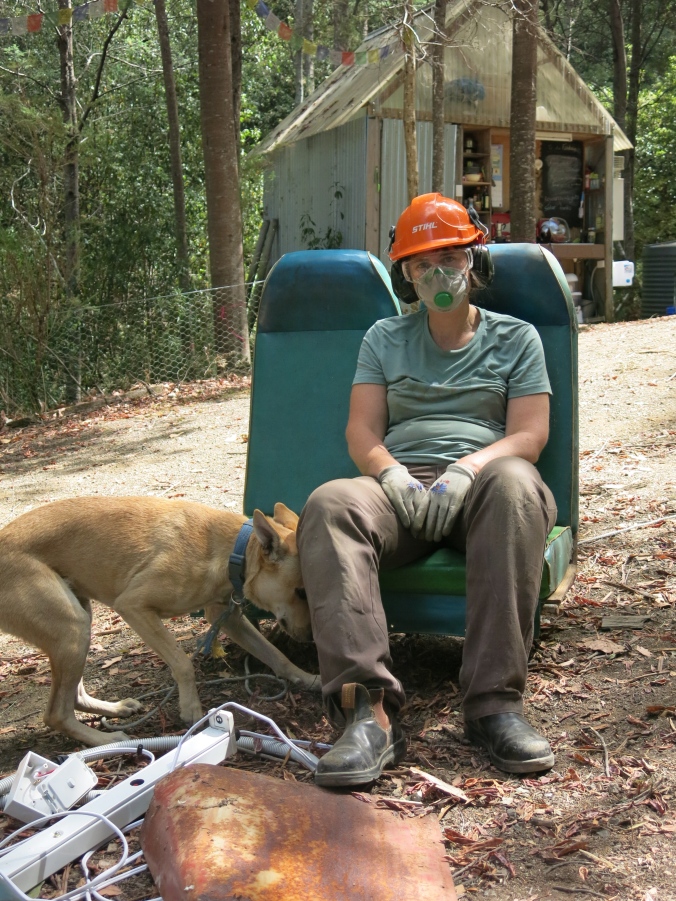
A satisfied Deirdre and curious Oscar on our new lounge chair.
This brought us up to lunch. Again progress was being made quicker than what we had envisaged. Our planning was overly cautious perhaps but it was better it’s better to overestimate and be surprised at your progress then be frustrated at unrealistic ambitions.
After lunch we got back into finishing off the front section. The door mechanism was first to go (wire cutters through the air pipes, grinder to bolts) then the tiles were removed bit by bit.

Back breaking work, trusty red chipping away out the lino floor on the front.
Exposing, unfortunately, a series of rust holes, patch work fixes and some all right steel flooring. Most of the rust seems to be centred around the passenger side (behind me to the left in the photo above). We are going to have to work whether to replace or just patch up. One thing in our favour is that the bus will be going nowhere so we don’t have to worry about roadworthy’s or the likes.
By the end of the day all that was left to do in the front was the wall paneling and steering wheel. The back we hadn’t touched much either so both of them would be jobs to finish come Monday. (Sunday being wash day here when we get to use a proper shower after a week of military washes!)
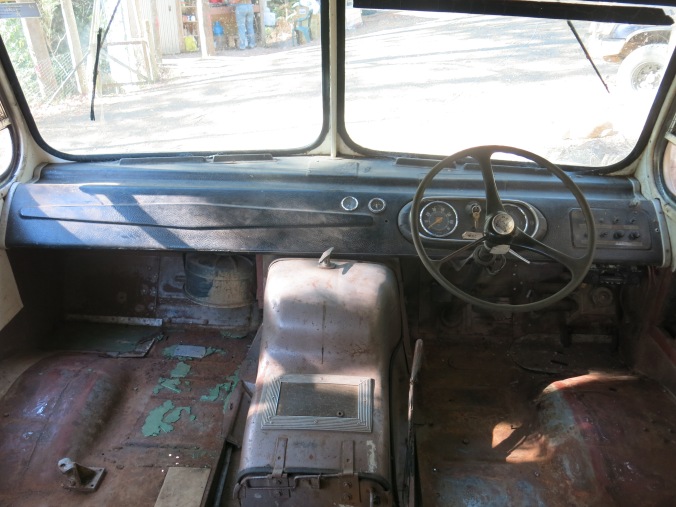
The front section. Everything but the steering wheel removed.

What a mission! Awesome work.
LikeLike
Well done Deirdre and Scott amazing work and what emotional and physical strength xx
LikeLike